This is the second in a series of posts that will look individually at a number of different database formats. I will discuss installing and basic configuration, as well as how to enable support of spatial data types in the database.
This post will be on the open-source RDBMS, PostgreSQL.
The first step is going to be obtaining the software. The place to go is www.postgresql.org. You will need to download the appropriate version based on your operating system type. For my system, the appropriate setup is Windows 7, 64 bit. There are two types of installers. The basic one includes just the PostgreSQL installer, while the other includes something called Stackbuilder. Stackbuilder is an add-on that handles the installation and version management of a number of common extensions, including PostGIS, which is the spatial extension for PostgreSQL. This method is what I chose to use for my installation. From some testing, it appears that you may be able to do a standalone installation of each, and then start using Stackbuilder to manage them going forward.
Let’s get started.
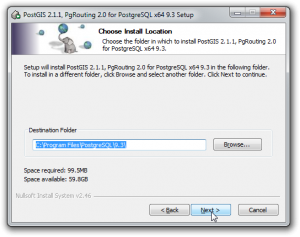
- Run the installer. There will be the standard question about where to install the software itself. This can be the default unless you have a specific install location.

- The next major step will be to choose the location of the data files for PostgreSQL. This is where the actual database structures and data will be stored. This is a location that I would suggest changing for two reasons. The first is that the standard data directory is buried in the software install location. This can be difficult to find if necessary. The other reason to change the data directory is to place the data in a location that is easily backed up and restored. You may have a drive dedicated to your spatial data storage, so you would want these databases there as well.

Choose installation for Postgresql data files. - The next step in the install is to choose a password for the superuser for the PostgreSQL database. On the Windows install, this will also create a dedicated Windows user account. This is because PostgreSQL runs as a service and it is better to have it on a dedicated user account. One quirk of this account is that it is hidden in the standard user list. If for some reason you need to delete it, to do a clean install of PostgreSQL, for example, you would have to use the command line to expose it.

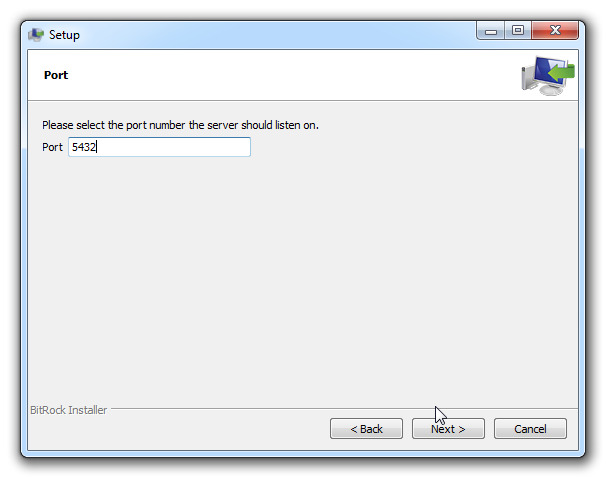
Enter password for postgres superuser - Set the port to access the service through. The default is ‘5432’, and I’ve seen no reason to use something different. I suppose the only real reason would be if that port were already in use. Another reason may be if you have multiple instances installed, for example, multiple versions of the database.

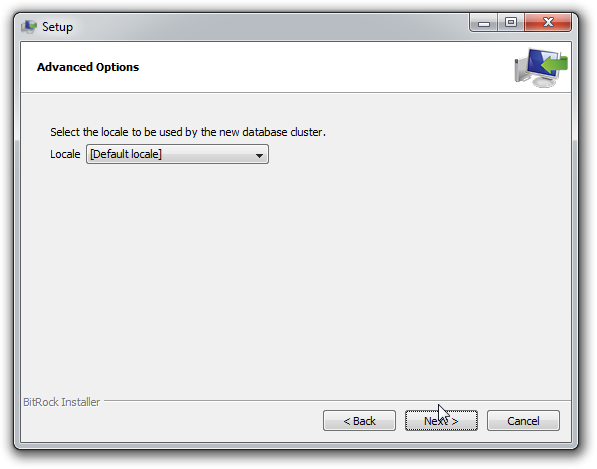
Postgresql – Set access port - Set the locale for the database. This should be set to the location where you want any date or time calculations to be based upon. The default locale is the locale that your computer is set to.
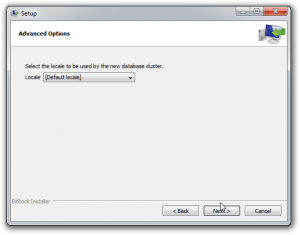
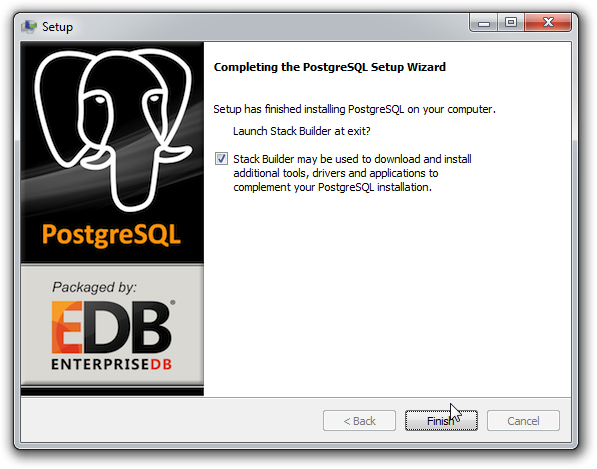
Set locale for Postgresql database - The initial parameters are now set. Next is to simply run the installation. Upon completion, you will be asked if you want to launch Stackbuilder. Stackbuilder is an installer package that maintains versions of the Postgresql database as well as a variety of extensions and add-ons to the database including PostGIS, ODBC driver and an option for database replication. You will want to run this to reach the step of installing the PostGIS extension.
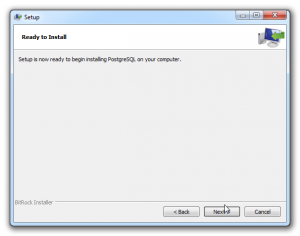
Begin setup of Postgresql database 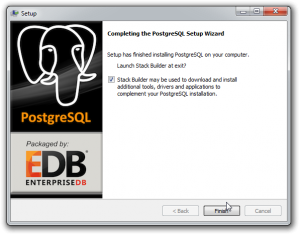
Launch Stackbuilder for Postgresql - Once Stackbuilder launches, you will need to choose the instance of Postgresql that you want to work with. There may be multiple instances listed if you have installed a new version of the database alongside an older version, or switched from 32 to 64 bit.
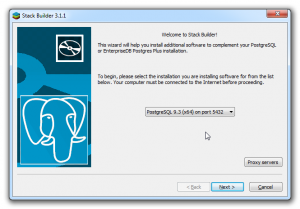
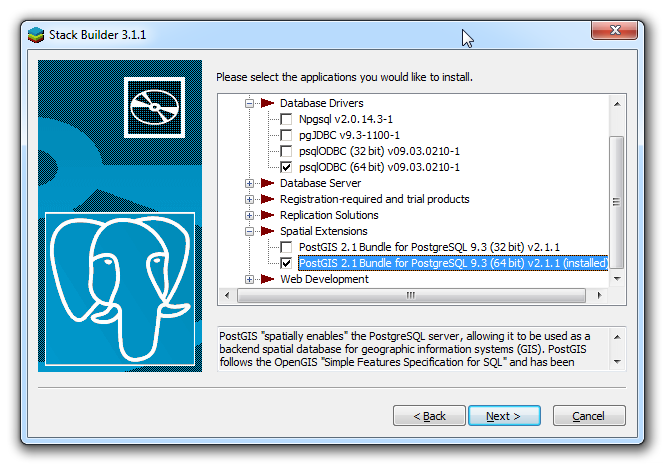
Choose database version in Stackbuilder - Choose the items you would like to install. In this case, I chose to install the ODBC driver and PostGIS. It is important to ensure that you match the 32 bit/64 bit versions of these items to the database instance that you are working with.
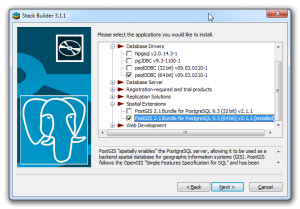
Choose items to install with Stackbuilder - Choose download directory for installation files.
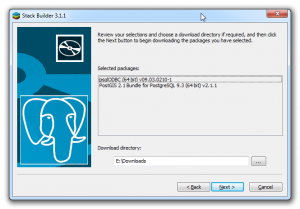
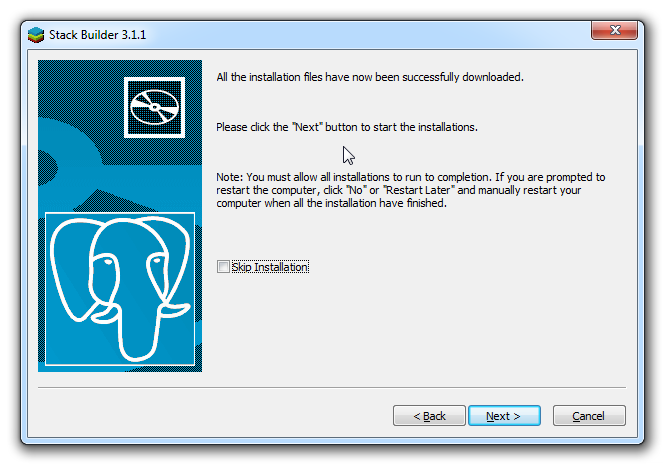
Choose Stackbuilder download directory for installation files - Once all of the files have downloaded, you will be prompted to start the installation. It is important to let all of the installations complete. If there are prompts to restart, simply click “No”, or “Restart later”, so that the rest of the installations may continue and complete.
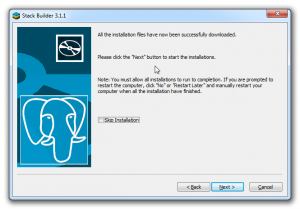
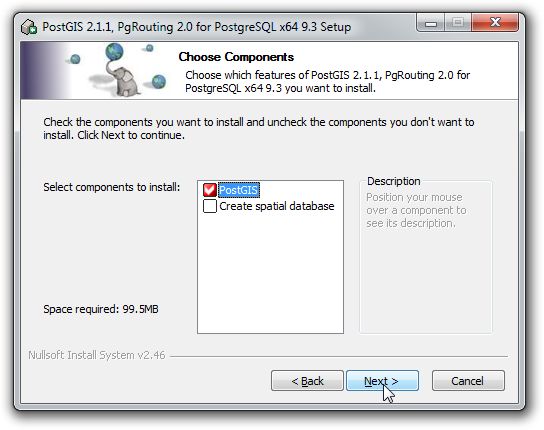
Files are downloaded, proceed with installation - Accept the licensing agreement and now you will be at the window to choose the PostGIS components that you want to install. PostGIS is selected by default, and there is an option to create a spatial database. I choose to leave this unchecked, as I want to choose how I set up my databases outside of the installer.
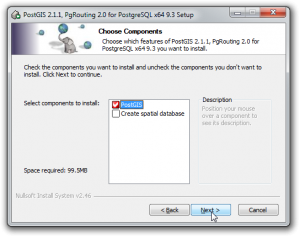
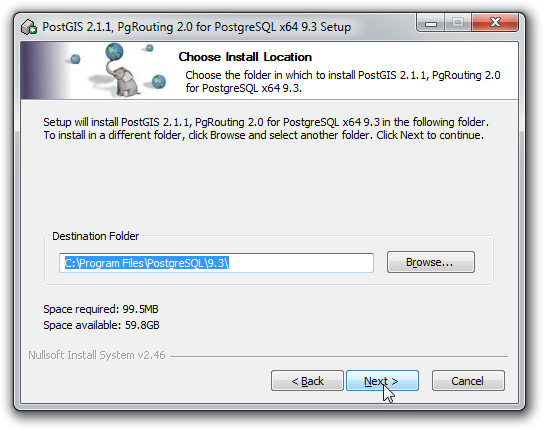
Choose components to install for PostGIS. - Choose the installation directory for PostGIS. The default is to place it as a sub-director of the Postgresql software.
Choose PostGIS installation directory - Provide the username and password for the super user that you created for the database. This is usually “postgres”. Also provide the proper Port number that the database is tied to.

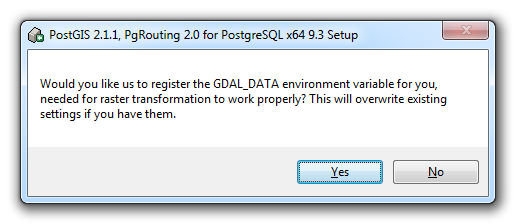
Provide connection information for target Postgresql database. - After the installation has run through, a message will come up regarding whether or not to set the “GDAL_DATA” environment variable. I have not researched this variable to know all the software that it is tied to. I imagine that if you are using mostly default installations of Postgresql/PostGIS, GDAL, etc. that overwriting this variable is not going to be an issue. If you have done custom installations of some of these items, overwriting this variable may have unintended consequences. It is likely that if you have done a custom installation, you are already beyond the scope of this tutorial. Take from it what you will.
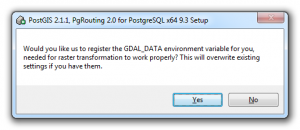
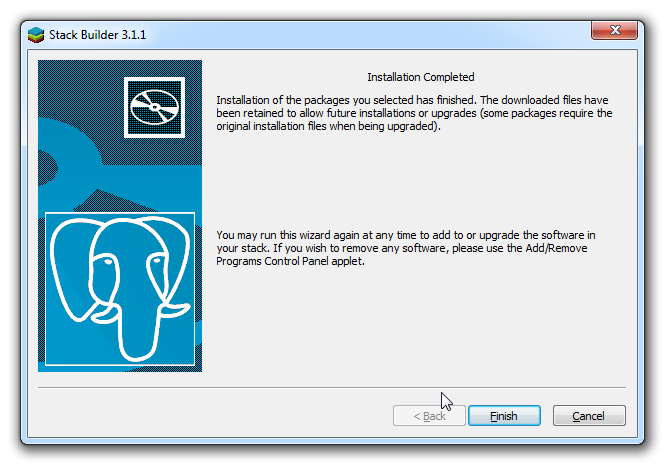
Option to overwrite “GDAL_DATA” environment variable - Congratulations, the installation is complete. Now that the database is installed, the Stackbuilder software provides an easy place to go to upgrade Postgresql, PostGIS and the other extensions or add-ons that you have installed. Before doing upgrades to any database software, it is important that you read the documentation regarding major or minor releases as different actions are required in each instance to perform a successful upgrade.
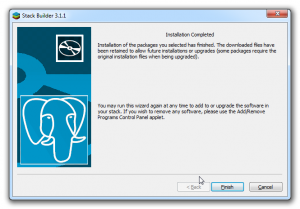
Installation has completed, use Stackbuilder to check for updates to software. - Finally, now is the time to restart your computer if you previously encountered and delayed any restart requests.


In a nutshell, that is the process to install both the database and the extension. Of course, this is just the beginning, now you have to actually start using the software, creating databases, and enabling the PostGIS extension. A follow-up post will cover this and other information. Throughout this process, I encourage you to check out the documentation provided for Postgresql. It is located at http://www.postgresql.org/docs/manuals/. The documentation is very comprehensive and is updated with each release.